Fingertip Traverse, Tahquitz
One of the original testpieces at Tahquitz: first climbed in 1936, and the route used to anchor the low end of the Yosemite Decimal Scale. Mostly 4th and easy 5th class, with two short cruxes (a layback on P3, a friction slab on P6) that read more like 5.5 by modern standards. Small cams earn their keep the whole way up.
Itinerary
- 6:00am: Trailhead
- 7:00am: Base of the wall
- 1:30pm: Summit
- 3:30pm: Back at the trailhead
Pitch notes
P1
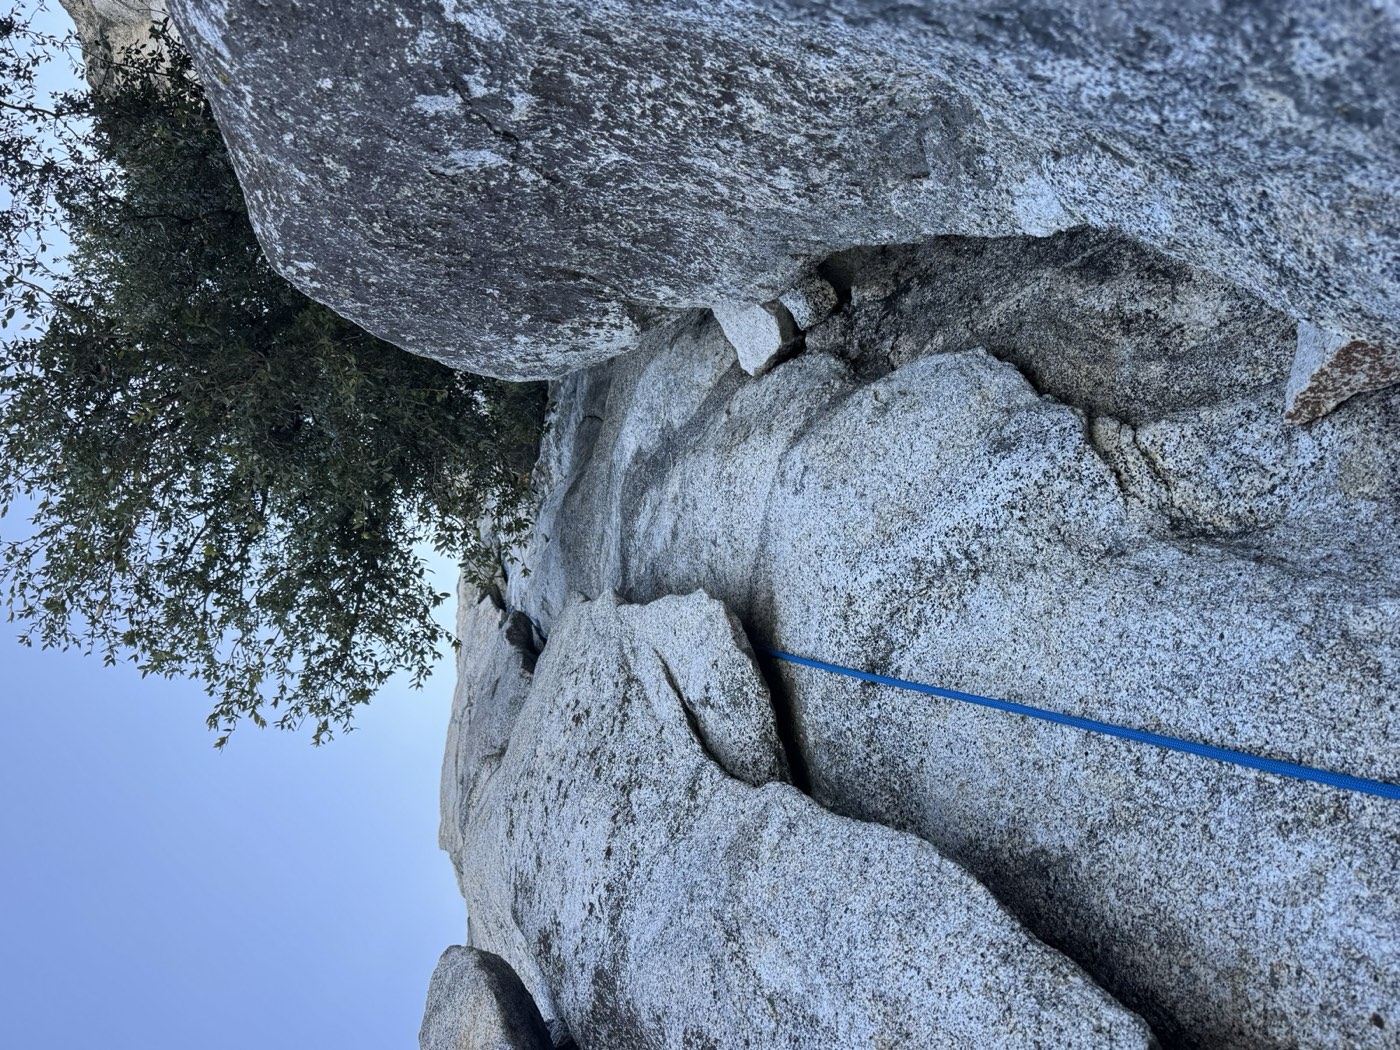
- 4th class scramble up to a double oak tree in an alcove (the “ant tree”)
- Tree anchor below the lower trunk (there’s an ant nest higher up, don’t disturb it)
P2
- 1 sling around the tree branch, plus a 0.3“ cam in a small finger crack (both near the top of the tree), plus a solid 2“, for the step off the tree onto the rock,
- 2 more cams on the crack along the rock
- 1 more cam near the top of the pitch to protect the anchor build
- Tree anchor, it sits below the jungle ledge, alternatively, gear anchor, however, reserve cams for the dihedral (0.75“ - 1“)
P3
- Follows the dihedral on the left side the whole pitch (not the jungle ledge)
- 2 cams before the dihedral
- 2 cams on the dihedral: 1“ through the 5.5 section, 0.75“ (green C4) exiting the layback
- 1 small nut after the dihedral, at a small ledge, to protect while building the anchor
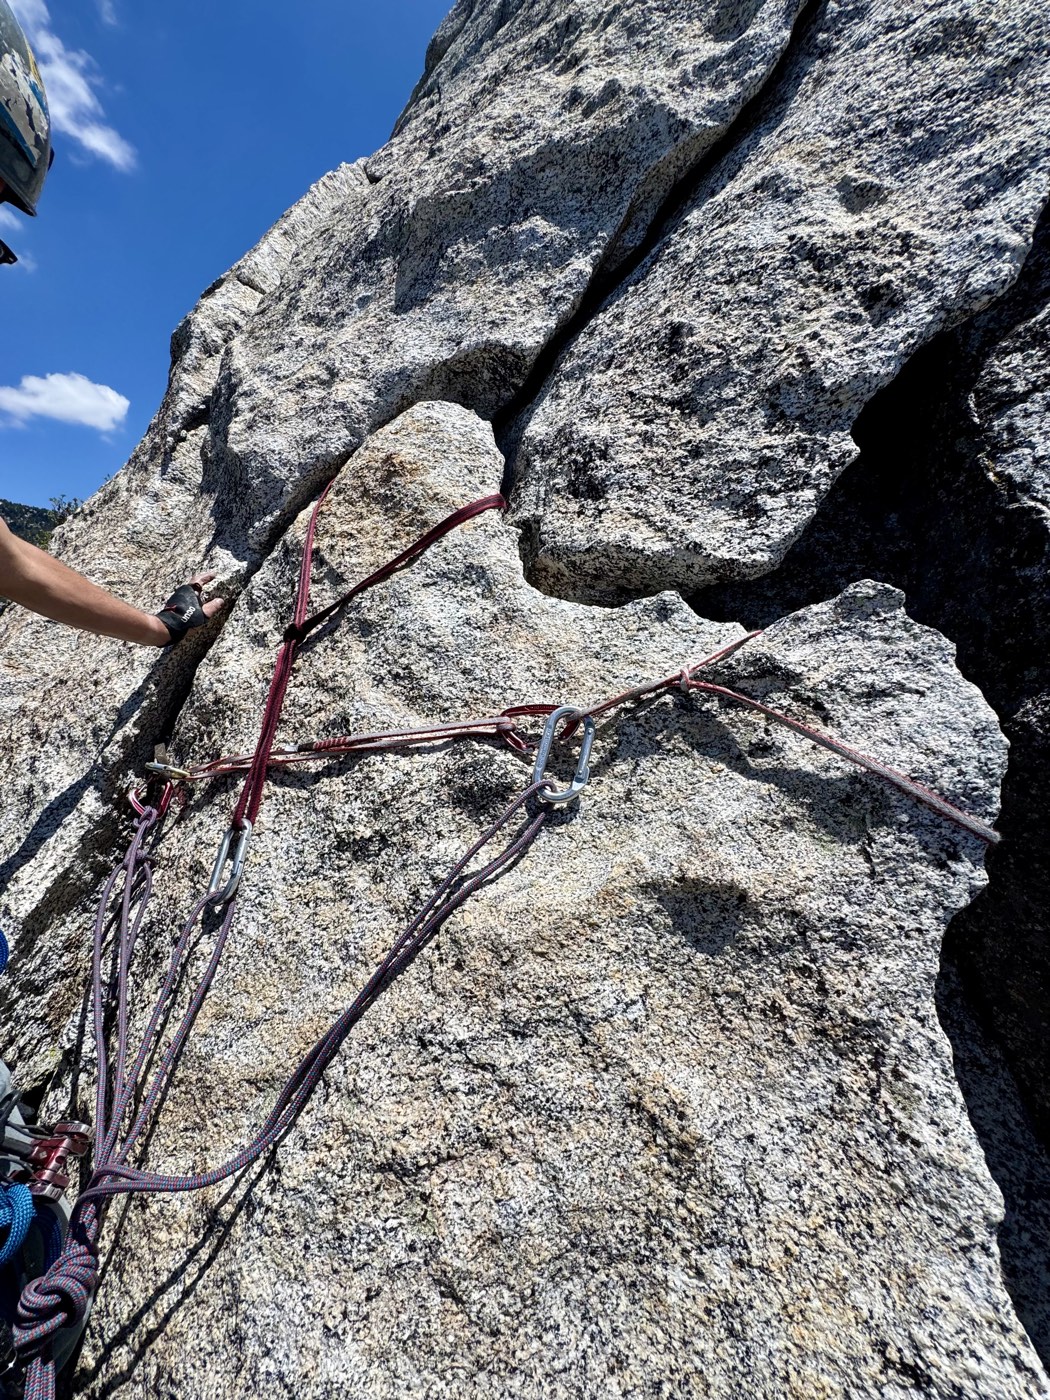
- Then build a gear anchor on a crack with a fixed piton already in place
P4
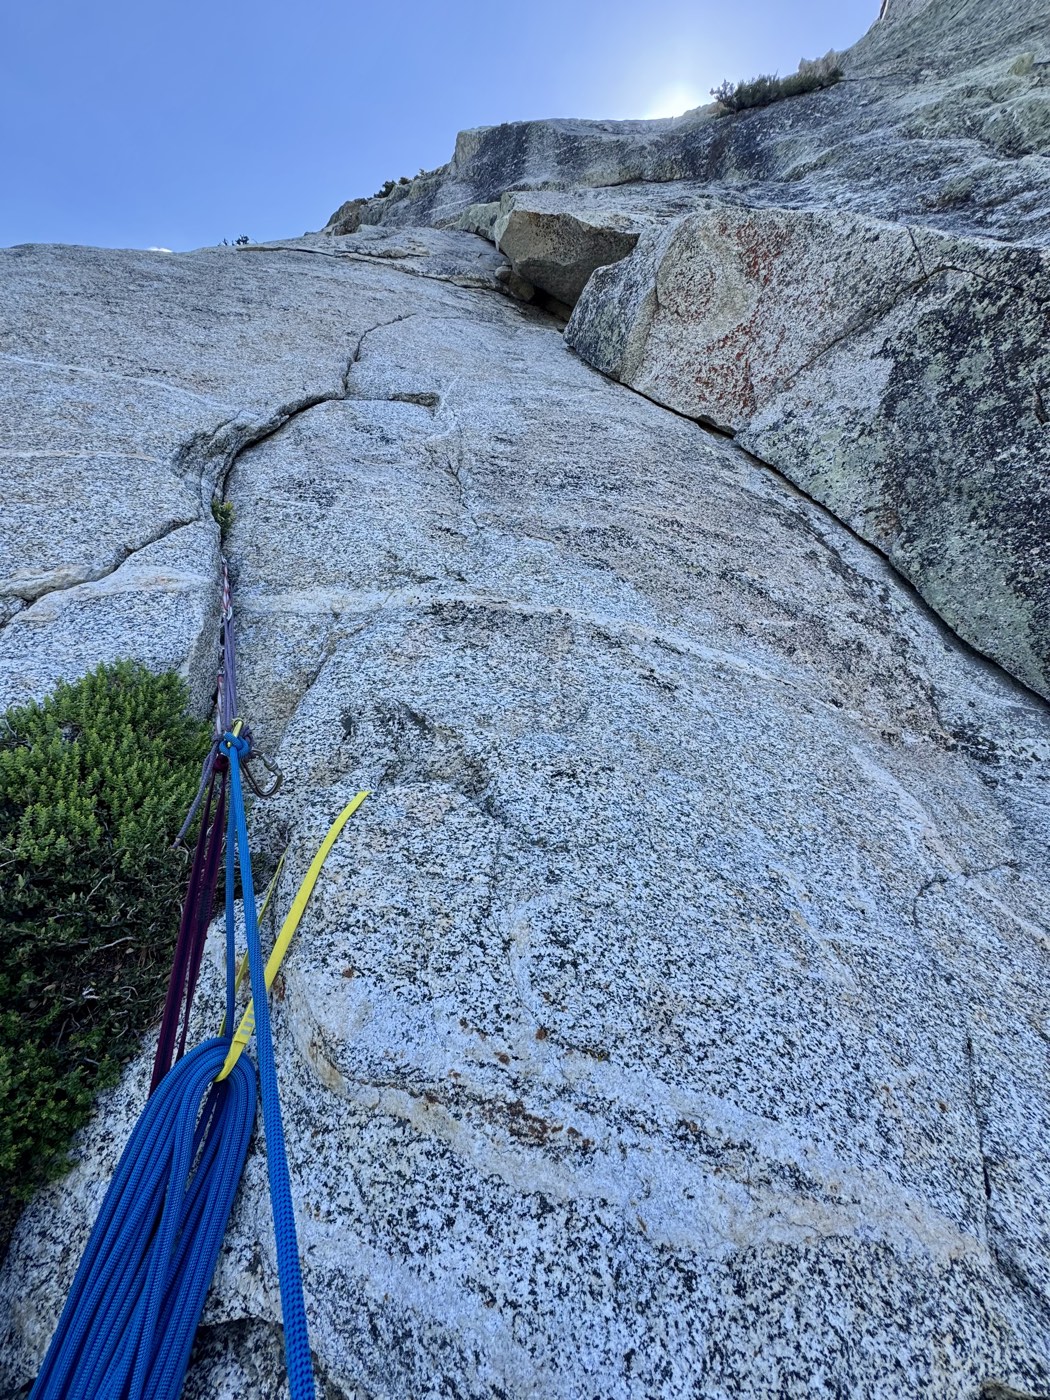
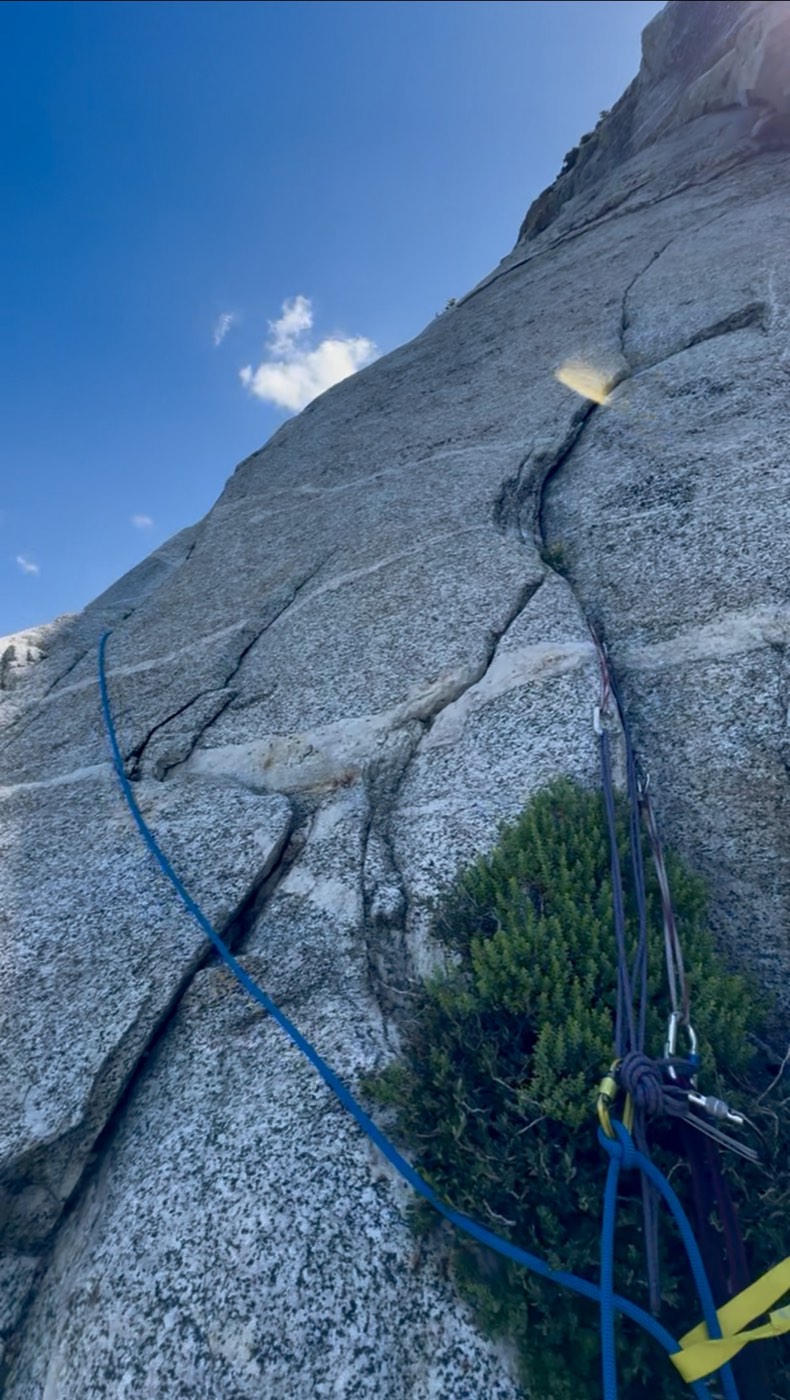
- Placement order: 5 cams, 1 sling around a tree, 1 cam, 1 sling around a tree, 1 nut, 1 cam, 1 cam
- Tops out at Lunch Ledge (there’s a stuck cam in a crack there)
P5
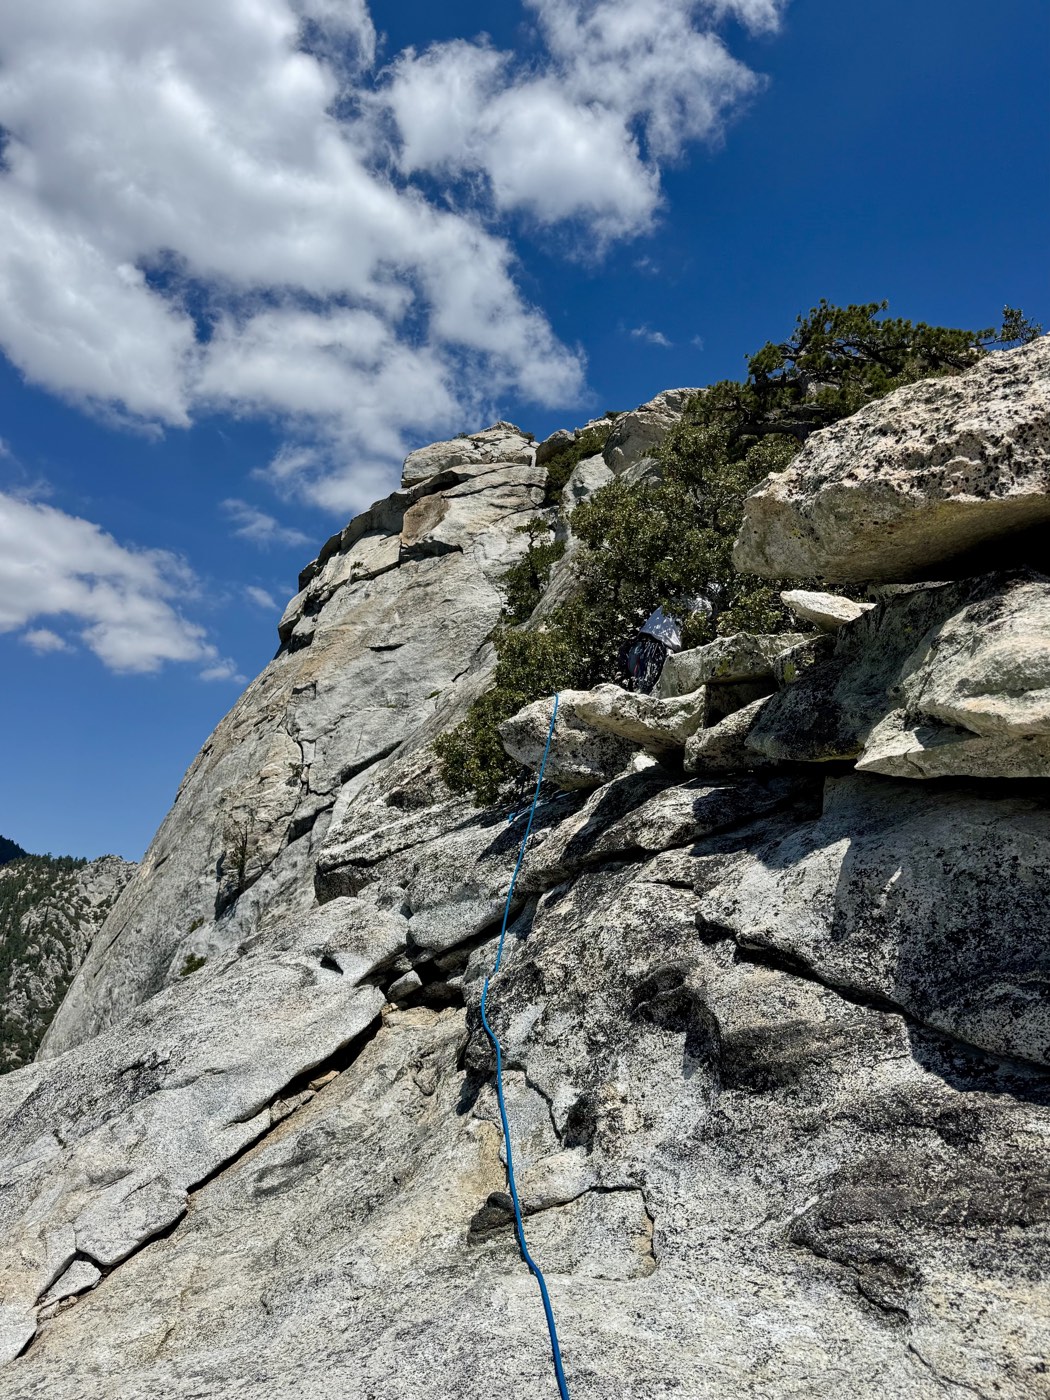
- Short 5.2 move around a corner to the right, then easy 4th class the rest of the way
P6
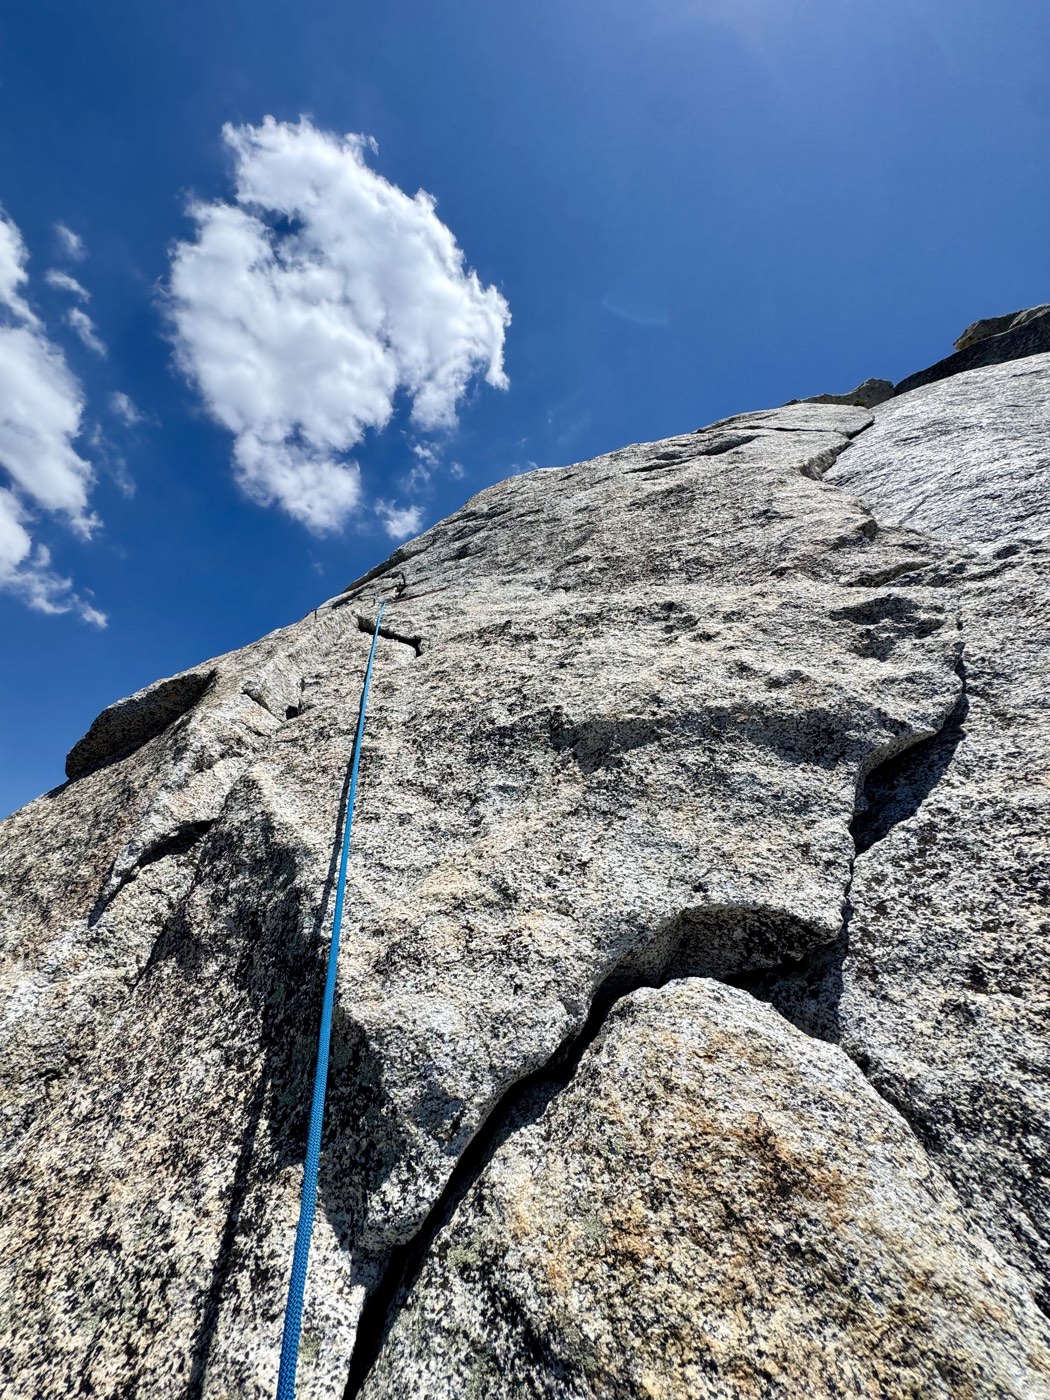
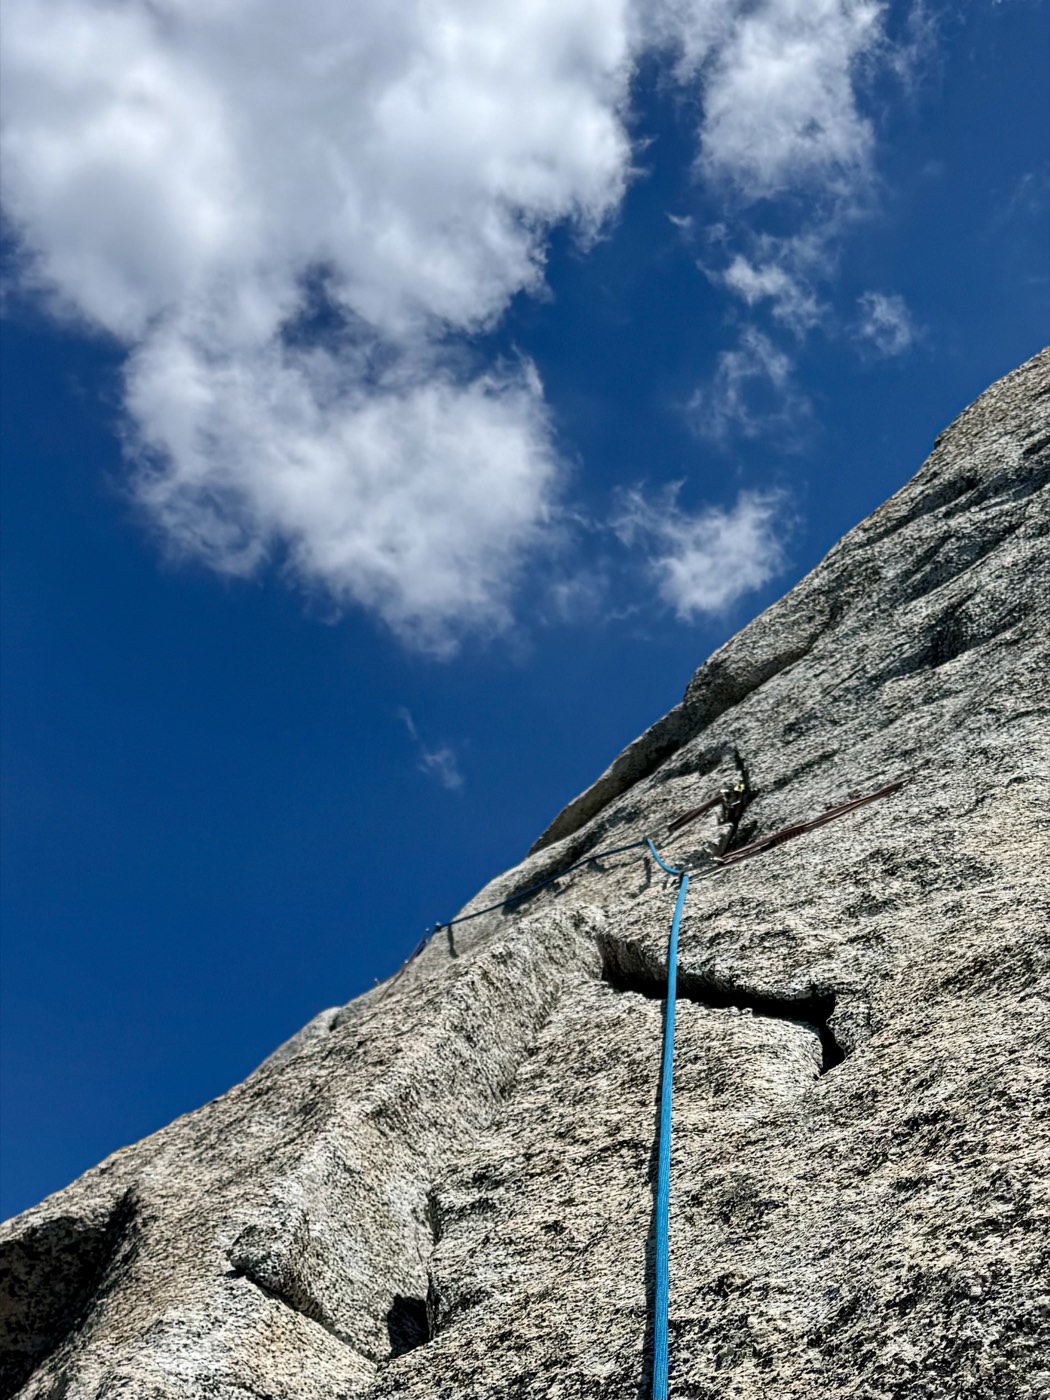
- Up and left along a flake, following it around a corner (0.3–1“ cams protect it)
- Past a small tree, a 10-foot 5.5 friction slab up to an orange bolt: this is the other real crux
- Eases off past the bolt, pro available the rest of the way
Rack summary
Anchor here means the belay built at the top of that pitch (where the leader stops and brings up the second), not the anchor at its base, that’s the previous pitch’s top anchor.
| Pitch | Placements | Anchor (top of pitch) |
|---|---|---|
| P1 | N/A (not detailed yet) | Tree (no gear) |
| P2 | 7 (1 sling, 6 cams, incl. 0.3“, 2“) | Gear anchor (pieces TBD) |
| P3 | 5 (2 cams before dihedral, 1“ + 0.75“ on it, 1 nut to protect the anchor build) | Gear anchor on a crack, fixed piton already in place |
| P4 | 11 (5 cams, 2 slings, 1 nut, 3 cams) | Gear anchor at Lunch Ledge (TBD) |
| P5 | N/A (not detailed yet) | Not detailed yet |
| P6 | N/A (0.3–1“ cams protect the flake, count TBD) | Not detailed yet (guide has this as a walk-off) |
Reserve at the anchor: P3 eats a 0.75“ (green C4) late in the pitch. If you’re not carrying two, don’t leave your only one in the P3 anchor.